Hooked on store-bought bottled salad dressing? Or are you eating salads with no dressing? (I hope you are eating a salad every day!) There is a solution and a better option to these two less than desirable choices!
The oils in almost all commercial salad dressings are high in omega-6 fatty acids. These are pro-inflammatory and saturate the American diet to the point that the healthy ratio of about 1:1 of omega 6 to omega 3 is greater than 20 to 1 for the average American. Very unhealthy! This is a compelling reason to stop consuming all vegetable oils so check your ingredient labels on all (not just salad dressing) food products–if you see canola, soy, safflower, sunflower, corn, or cottonseed oils do not buy! And for goodness sakes, don’t use them for cooking or baking.
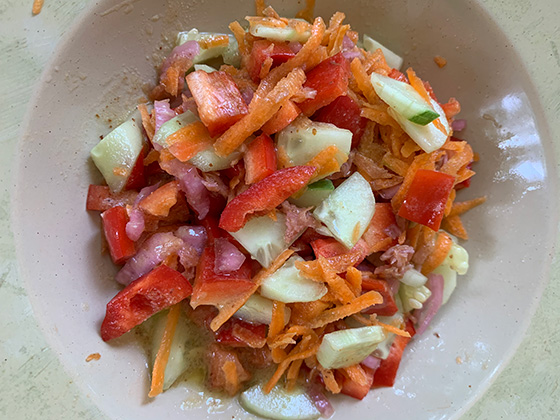
Now as for not using any dressing on your salad, this is not only unappetizing in my opinion but counter-productive for absorbing the nutrients in the vegetables in the salad. The oil will allow your absorption of more nutrients from the vegetables. So if you are short on time and can’t make a more nuanced dressing such as the honey mustard dressing I posted previously, give this a try. It is simple, tasty, and made with truly superfood ingredients. No mixing ahead–just drizzle right on to the salad.
For each salad, drizzle in this order:
1 Tbsp. organic extra-virgin olive oil
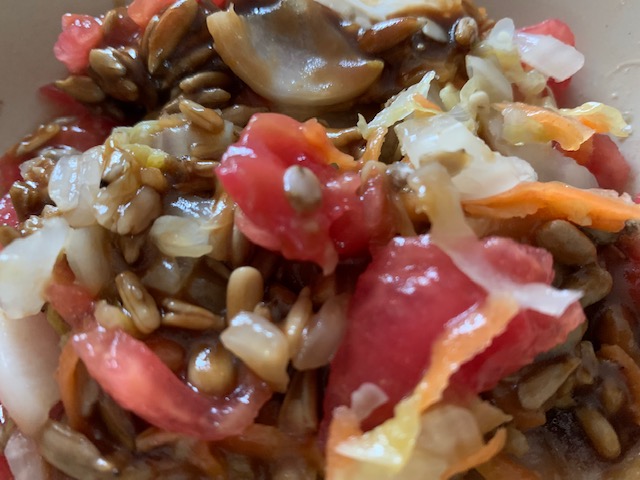
1 tsp. raw organic apple cider vinegar
1/2 tsp honey
Season with salt and pepper to taste. If you want to get fancy, season with your favorite dried herbs.
Toss the salad and serve immediately.