Figs are usually eaten dried, but if you have fresh figs in excess this recipe idea is a breakthrough. It may have limited relevance–how many of you have a fig tree? Or a farmers market where they are available? Well, this recipe is for you! If you are a gardener, I highly recommend planting a fig tree. Here in Roanoke we have a brown turkey variety (in a protected sunny location) that has survived the winters for several years now. It dies back during colder winters but even without protecting it by wrapping it for winter, it continues to survive and produce. It is easy to grow organically as there are really no pest problems that we have had. Anyway, making fruit leather is an easy way to preserve this highly perishable fruit. No cooking and no added sugar necessary–a real plus considering what canning recipes suggest.
I used a 140 degree F convection drying oven overnight but you could use a food dehydrator. If you do, follow their directions because it will likely take longer to dry if you dry at a lower temperature. Be sure the leather is thoroughly dried before ending drying–press the center with your finger and if there is no indentation it is dry. Also be sure to remove the leather from the pan before it cools or it will stick to the pan–follow the precautions in the update below so you don’t end up with stuck-to-the-pan fruit leather!
Wash at least 1 quart of fresh figs–any variety. Cut the stems off–if there is white flesh around the stem that does not taste sweet remove it with the stem (some fig varieties will have this more than others). Quarter the figs and place in a food processor. Pulse a few times just to mash them into a puree–not to the point of being a smooth consistency. You want it a little chunky. If you want to reduce browning stir in 2 tsp. lemon juice per quart of fresh fruit. Pour into pyrex or stainless steel baking pans to a depth of between 1/4 to 1/2 inch (no more).
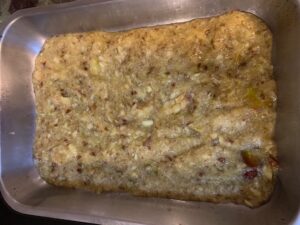
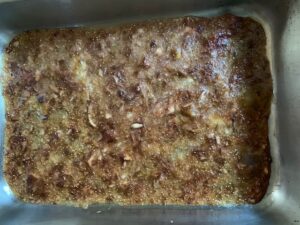
Place in a 140 degree F oven. I have a convection drying option which works well. Depending on how much moisture is in your figs and how thick the paste is in your pan will determine the drying time. Your final product will be just like fruit leather–sweet and chewy which means it sticks to your teeth so watch out for that! If you don’t dry it long enough it will be somewhat spongy or gelatinous and won’t keep as well nor taste as good in my opinion.
IMPORTANT UPDATE: If you are using regular baking pans (not a dehydrator), please take note or you may have a lot of trouble removing the leather from the pan. After making several batches of fig leather I have found that taking the following steps makes removing the leather from the pan easy.
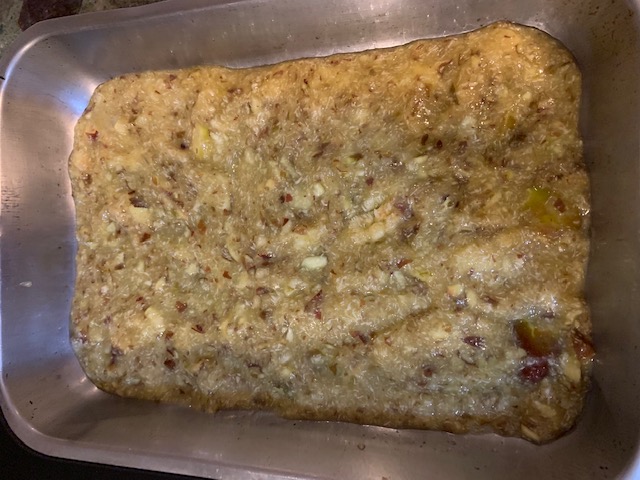
- Cut the leather when it is half dry–it will be shiny but still spongy and will still indent when pressed in the center (see photo below). It needs to be dry enough that it doesn’t tear. This may be after 6 to 9 hours of drying time–depends on the thickness of the fruit puree. Do this while the leather is still warm–immediately after taking out of the oven.
- Lift the cut pieces (strips or squares) with a spatula and flip over. Place the pan back in the drying oven and continue drying until it’s perfect (no indentation left after pressing with your finger).
- I have also greased my pans with a very little amount of ghee. It is hardly noticeable in the final product but if you follow the two steps above you won’t need the ghee.
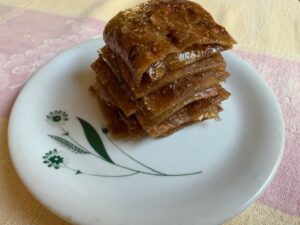
Remove from oven and immediately remove the pieces from the pan with a spatula. It should lift right out if you followed the steps above. Here are the squares
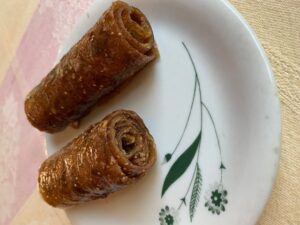
and the rolled up strips. Roll the strips up while still warm.
Cool completely before storing. Store in an air-tight zip lock bag or a container or roll up in plastic wrap–vacuum pack if you have the equipment. Apparently, moisture in the air is a problem for dried fruit so keeping it air-tight is very important. Fruit leather is said to store at room storage if tightly wrapped for about 1 month (mine stored at room temperature for months) and for 1 year if kept in the freezer (I haven’t tried freezing it.). If it is vacuum sealed it would likely keep at room temperature a lot longer than a month.