Sardines are a good source of omega-3 fats and are low in mercury so why don’t more people eat them? I think it’s because they don’t know what to do with them. Also, the bones and skin in most brands may be a deterrent. I buy the boneless and skinless packed in water. In fact, sardines are an excellent protein food to stock up on for emergencies and as long as you are eating them regularly you will be rotating your stores (not wasting your money on dehydrated, shrink-wrapped foods of questionable nutritional value which you will likely never eat). You just need to know what to do with the sardines! Well, here is one idea.
Since we have lots of eggs with our current flock of chickens, omelettes are often on the menu. There are many possibilities to vary this recipe depending on what vegetables you have. Nothing fancy here–no flipping–just broil it in the oven to finish. I used yellow zucchini here because of the abundance coming out of the garden. It’s fun to add fresh basil when you have that too. Getting back to the sardines–they add a meaty texture to an omelette and complement without overpowering. Give it a try!
Serves 2:
4-6 eggs, from pasture-raised chickens
1 cup chopped onion
2 Tbsp. ghee
1/2 cup fresh basil leaves, optional
1 cup chopped zucchini or yellow squash (I have added more at times–up to 2 cups)
1/2 tsp. salt
1 can sardines, boneless and skinless
1/2 cup grated pecorino or parmesan cheese
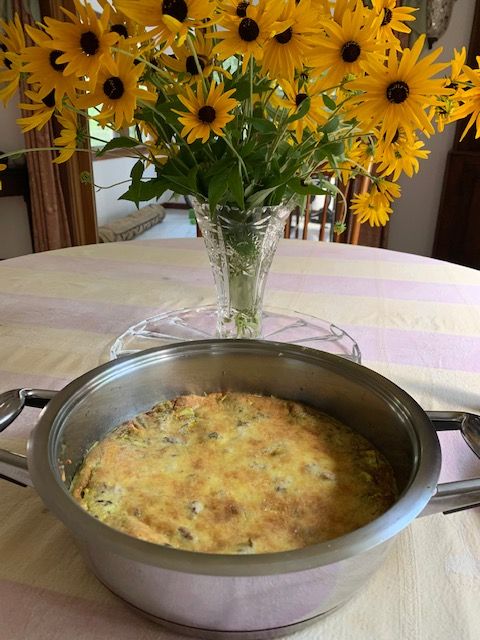
Heat ghee in a medium-sized skillet over medium heat. Add onions and stir for a few minutes. Add squash and stir. While the vegetables are heating up (give them a stir every few minutes), blend the eggs with the salt and basil in a blender just briefly enough to get the basil chopped up and the eggs mixed. Pour this mixture over the vegetables in the skillet. Turn the heat down to medium low. Drain the water out of the can of sardines. Use a fork to break up the sardines into pieces while still in the can and then distribute the pieces evenly into the egg mixture–just drop them in. Top with the grated cheese. Let it cook about 5 minutes–don’t let it burn on the bottom (you’ll know you got it right if your skillet is super easy to clean afterwards!). It does not need to set before broiling. To finish, place the skillet on the middle rack of the oven set on low broil. Broil until slightly browned. It only takes a few minutes so keep an eye on it to avoid burning. Serve immediately.