Recommendations for supporting the immune system:
- Most important recommendation–eat an anti-inflammatory diet. Basically this means no sugar, white flour products/gluten grains, vegetable oils (canola, soy, corn, sunflower, safflower, peanut). For more details on the specifics. schedule an appointment with Monica or ask for our handout in the office.
- Vitamin D3. Maintenance dose for adults is 5000 IUs a day (children ¼ to ½ of that depending on weight). If infection is beginning or has occurred, take 10,000 IUs a day of vitamin D3 for 2 or 3 days and then drop down to the maintenance dose. We recommend the powdered form (not the kind in vegetable oil in gel caps). We carry a brand that provides 5000 IUs per capsule, plus the option of a D3/K2 combo which is also powder. We also have drops of Vitamin D3/K2 emulsified in MCT oil —this works for babies and children who can’t swallow pills. Getting out in the sun has many benefits as long as you don’t overdo and burn but most of us live in areas where sun exposure year-round is not a reliable way to get vitamin D.
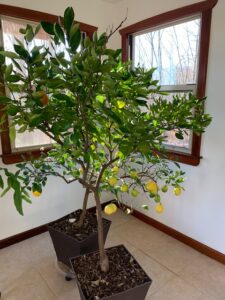
- Vitamin C. The VitaminCfoundation.org has many research articles linked on their site regarding the efficacy of vitamin C for viral infections. Apparently it is being used intravenously in hospitals in China for patients with corona virus infection. Read the articles on the site for more information. There are recommendations for oral vitamin C intake there also. VitaminCfoundation.com has good quality vitamin C in various forms available to order.
- Andrographis Complex. This is a MediHerb product that we have been using for cold and flu prevention for years. It is a combination of andrographis, holy basil and echinacea root extracts. It is available at our office. If you can tolerate it, place one of the tablets in your mouth and allow it to dissolve; this can instantly improve a sore throat. Another antimicrobial herb is oregano oil. We suggest NeuroHemp which besides the cannabinoids provides oregano oil. Swish a dropperful in the mouth before swallowing.
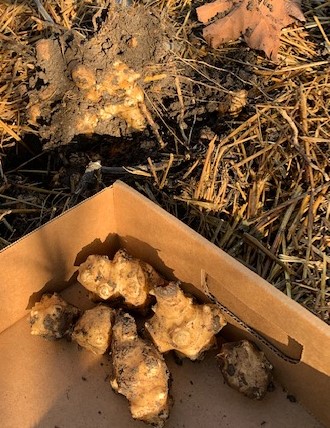
- Chaga Tea. Chaga is a mushroom that grows on birch trees in northern latitudes (Canada). It has many properties that support the immune system. Here is a recipe and a source for chaga tea.
- Zinc and Quercetin. Zinc as losengers or as liquid ionic zinc. , Some extra zinc (about 15 mgs a day) is a good measure to take as many people are low in zinc. Quercetin helps zinc to be taken up by the cells to fight infection. Don’t take extra zinc long-term unless you take extra copper also as it may create copper deficiency. Long-term it is best to rely on a multiple that has all the essential trace minerals in it to maintain adequate zinc levels. Plus a good multi will provide Vitamin A (as retinyl palmitate , not just beta-carotene) and vitamin K2 both of which help fight infections.
- Elderberry extract. Purchase online or at local healthfood stores and take the dose recommended on the bottle.
- Use the neti pot to rinse the nasal passages daily with salt water, plus brush your teeth with a drop of tea tree oil and 1/4 tsp. baking soda on your toothbrush along with your toothpaste for the anti-microbial effect of the tea tree oil. You can also gargle with a drop of tea tree oil in some hot, salt water–do this hourly to reduce microbes hanging out in the back of the throat that may or may not be causing symptoms.
- Take a good spore-based probiotic such as Just Thrive or MegaSporebiotic, which we have available in our office.
- NAC or N-acetyl cysteine is an amino acid that helps boost glutathione production in the body. NAC has benefits itself but glutathione is a major detoxifier and that alone is a good reason to take–500 mgs a day.
- Stay warm and hydrated with a variety of herbal teas, such as tulsi, licorice root, chamomile, mint. Raise the body temperature to the point of sweating to help kill viruses by sauna or hot baths.
- Breathe and get enough sleep! Diaphragmatic breathing to keep calm is a no brainer! Ask for our instruction handout. Doing this before sleep is helpful for insomnia. And if you are exposed to wifi or cell phone radiation especially at night it is having an impact on your cellular health and suppressing your immune system. Ask us for more information.