Nut butters can be hard to digest and for people who have less of an ability to digest fats they may be off limits. By preparing your nuts and/or seeds this way you may tolerate them better. But keep in mind that eating nuts seems to cause some people who are eating a low-carb diet to gain weight–particularly belly fat. This may be related to the high arginine to lysine amino acid content of nuts. Be aware of this and limit your intake of nuts in general.
Follow the instructions given in a previous post for preparing your nuts/seeds.
What about peanut butter? Well, lots of folks don’t digest it well. Afterall, peanuts are a legume (as in dried beans) and not a true nut. Also, there is the possible contamination of aflatoxins–liver-harming toxins from mold that grows on peanuts even if they are organically grown because they are an underground crop.
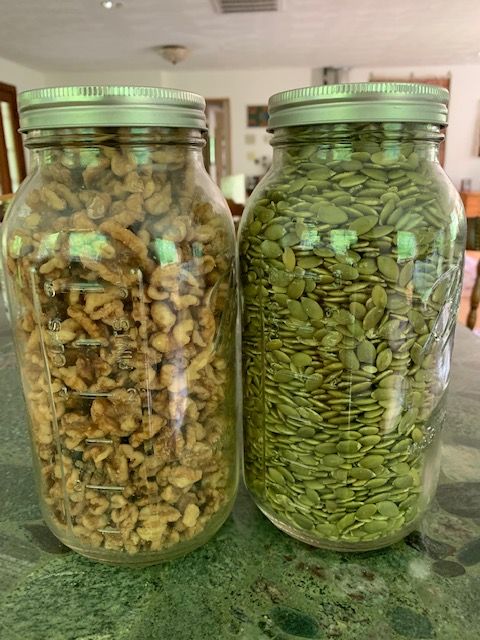
If you are allergic to tree nuts, you can use 2 cups of pumpkin or sunflower seeds instead of using walnuts.
You will need a blender or food processor.
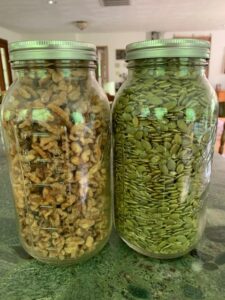
1 cup “prepared” walnuts
1 cup “prepared” pumpkin seeds
2 Tbsp. ghee, melted (you may substitute coconut oil)
2 tsp. honey, optional
salt to taste if your nuts were nut prepared with salt
Melt the ghee in a metal bowl on low heat. Remove from heat and set aside. Blend the pumpkin seeds first–blend until finely ground. Add to the bowl of melted ghee and stir well. Add the honey if you desire it and stir well again. Blend the walnuts in the blender until finely ground and add to the mixture. Stir well. Taste and add salt if desired. Keep in the refrigerator. It will harden so that it is hard to spread but you can remove the amount you need and allow it to warm to room temperature for easier spreading. Great on apple slices or celery sticks.

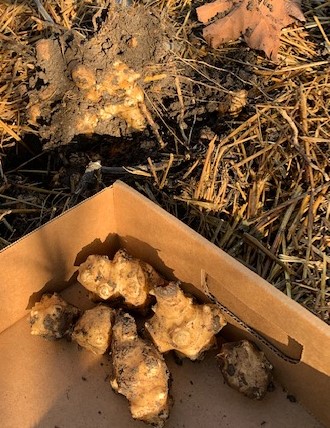
 Daikon radish, though often overlooked, is a nice mild-tasting root vegetable addition to vegetable sautees. It belongs to the cruciferous family of vegetables which is known for many health benefits when included as part of a diet.